[Save time, you can watch: the tutorial video (7 minutes 30 seconds)]
You can send an e-mail campaign to your customers who have accepted it.
Each e-mail will be charged 0.01€ excluding tax.
- Click on the tab « Campaigns »

- Then : click on « New e-mail campaign »

Step 1 : Select your contacts
- If you want to write to all your customers accepting e-mail : click on « Next »

- If you want to write to one or several contacts and/or groups, please choose them in the list

- If you want to target few recipients according to others criteria : click on « Advanced »

– Then, choose criteria which you are interested you :
(you can combine them, update of targeted contacts number is automatically done)
(Click on the picture below)

You can add several criteria, and thereafter remove filters by clicking on « filters » then by removing those you do not want anymore.
– Then click on « Back to campaign » :
number of targeted contacts will display again


Then click on « Next »
Step 2 : Identify your campaign

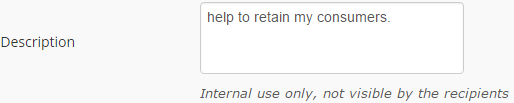
- Give a Title to your e-mail campaign (this information is only displayed to identify your campaign, for an internal use)
- Also, give a Subject (this information will be shared with your customers)

- Then, description is not mandatory :
- Then, click on « Next » to move on step 3 :
Step 3 : Enter your content
- You are going to be able to enter the text of your e-mail campaign and choose your template. You can also personalize it. First, click on « Choose » :

- The list of available templates is going to appear. Choose the one are you interested in by clicking on it :

- You can change template at any moment, however, be careful because you will loose the entered content !

- Several colours are available depending on templates : click on it to change the colour, the entered content will be left unchanged.

Fields to fill :
- Insert pictures with the requested format
- Click on the icon

Below the choice you have : upload / choose / link

– Upload / Download :
First, please upload an image from your computer and click on :
Then choose your file and double-click on it
And click on

– Choose :
This option give you a quick access to pictures already inserted beforehand
– Link :
If the picture you want to use is already online on your website please enter the URL as below

- After adding your picture, click on «
 » and your image will be added (here with the Guestonline logo) :

- Then enter your text in the input fields

- You can edit your text with proposal options (buttons caption appear when you are flying over with your mouse)
- Do not forget to « Save » each time you are modifying your text :


Once edition done, click on « Save » on the bottom right (you might have to scroll down) :

- You visit the summary of step 3, again. Then, you can choose to display or edit your newsletter. If everything looks good to you, click on « Next »
Step 4 : Plan your campaign
On this last step, you can find the summary of your campaign.
You do not need to plan it now, it is already saved and you can send it, any time :
![]()
- The summary show you the number of recipients and the content of your e-mail campaign :

- All you need to do is to plan when you want to send it. To do so, click on the calendar on the right of « Launch on » :
![]()
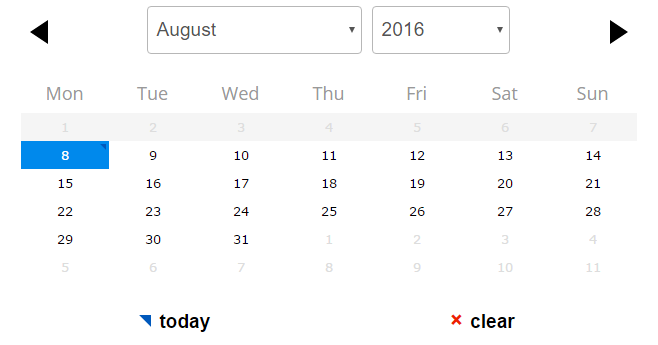
- After selecting your date, click on the hour you want the campaign to be sent :

It is linked to the time involved by scheduling campaign which launch to our e-mail supplier
- Eventually, click on « Schedule »
